3D Printing FAQs
+
1. How do I prepare my 3d model for printing?
Preparing a 3D model for printing involves ensuring the model is watertight and free of errors, scaling it to the desired size, and orienting it properly to minimize support structures and optimize print time. Software tools can be used to slice the model into layers and generate the necessary code for the 3D printer.
+
2. What factors should I consider when choosing a 3d printing service provider?
When selecting a 3D printing service provider, consider factors such as the range of materials offered, the quality of the prints, the turnaround time, the cost, the provider's expertise, and their ability to handle the complexity and volume of your project.
+
3. How do I ensure the quality and accuracy of my 3d printed parts?
At XMAKE, we guarantee quality and accuracy through state-of-the-art 3D printing technology and strict quality control measures. We utilize precise machinery and offer post-processing services such as surface finishing and polishing to ensure dimensional accuracy and surface quality.
+
4. What are the typical lead times for 3d printed orders?
Lead times for 3D printed orders at XMAKE can vary based on the complexity and volume of the parts. For standard orders, we aim to deliver within one to two weeks. However, we also offer expedited services for urgent needs and can provide a more accurate timeline upon review of your specific project requirements.
+
5. How do you maintain the confidentiality of my design files and intellectual property?
Protecting our customers' intellectual property is of utmost importance at XMAKE. We have robust security measures in place, including encrypted file transfers, secure cloud storage, and strict confidentiality agreements with all our staff. Additionally, we are happy to sign non-disclosure agreements (NDAs) with clients to ensure their designs remain confidential.
+
6. How does SLS compare to other 3D printing technologies?
Compared to other 3D printing technologies like FDM (Fused Deposition Modeling) and SLA (Stereolithography), SLS offers better mechanical properties and more material choices, but it can be more expensive and requires more post-processing.
+
7. What is the cost of SLS 3D printing?
The cost of SLS 3D printing varies depending on factors such as the material used, the size and complexity of the part, and the quantity being produced. It generally ranges from a few hundred to several thousand dollars per part.
+
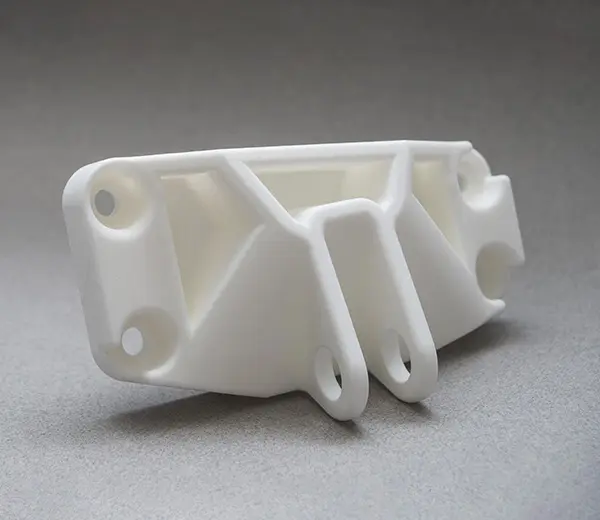
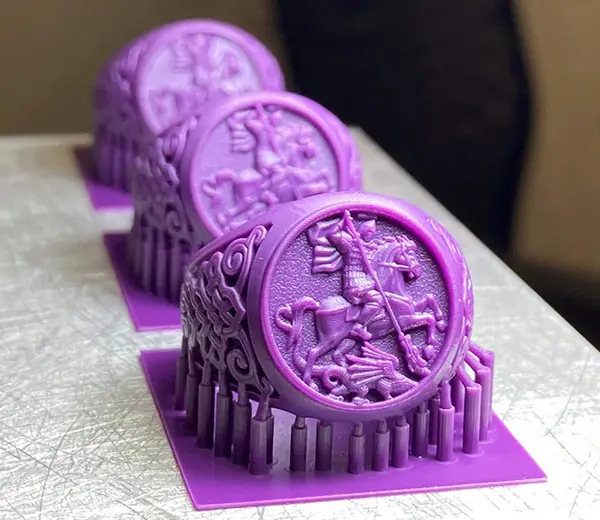
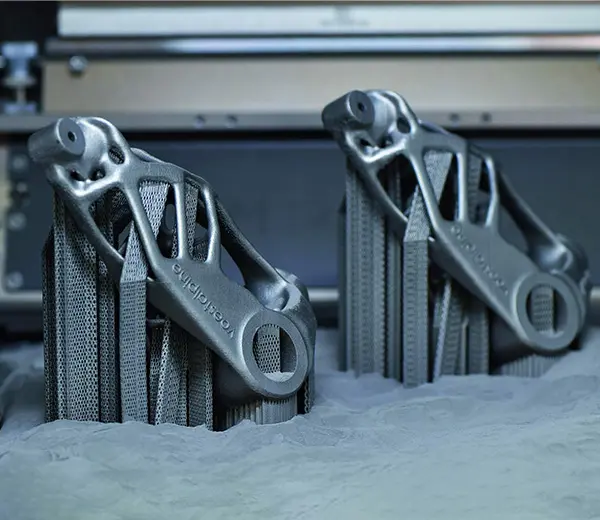
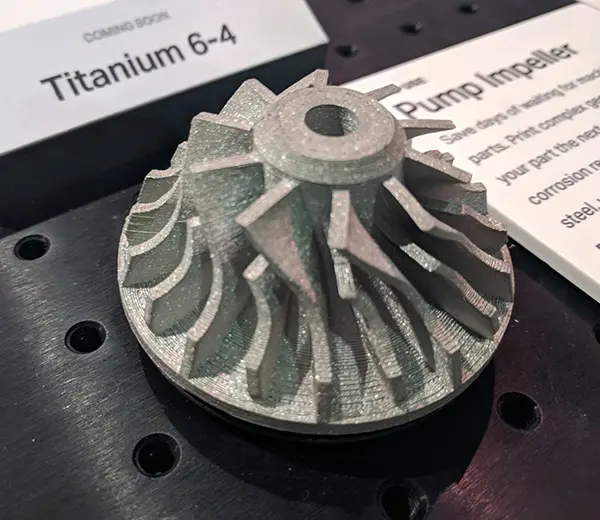
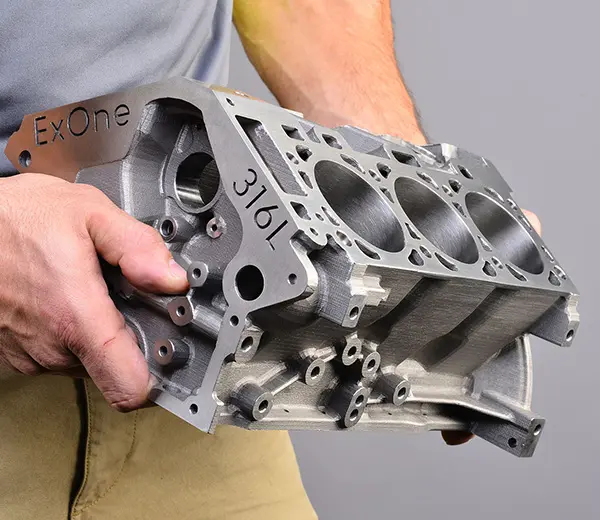
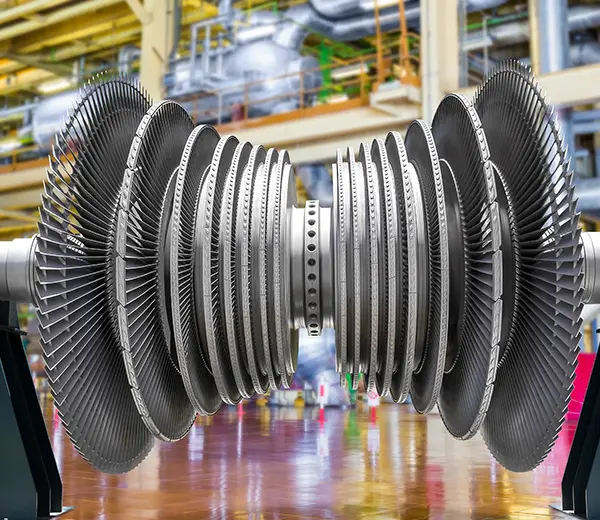
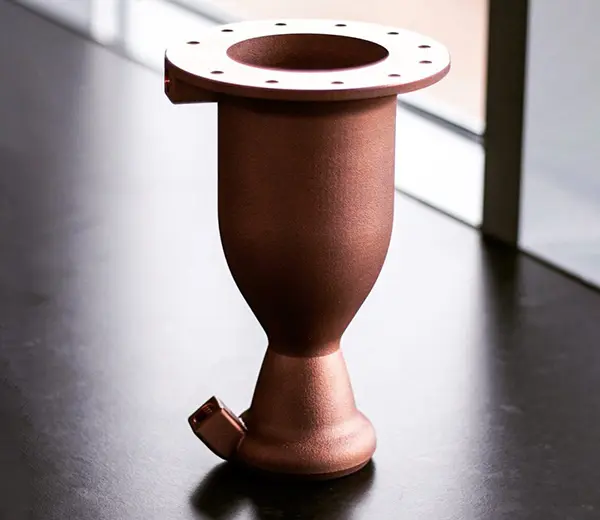
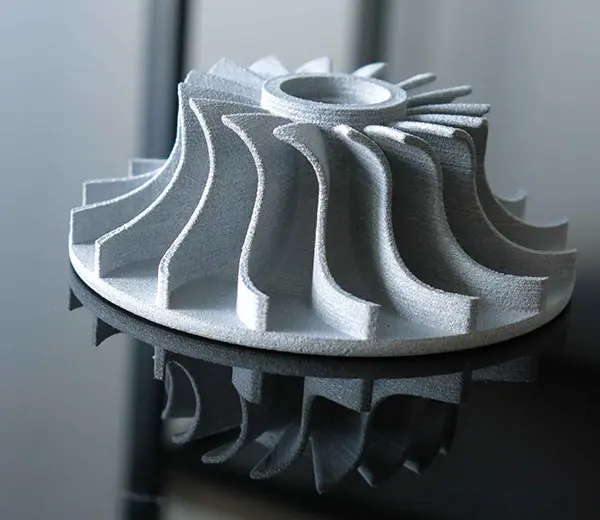
8. What are the applications of SLS 3D printing?
SLS 3D printing is used in various industries such as aerospace, automotive, healthcare, consumer goods, and manufacturing for prototyping, tooling, and end-use parts.
+
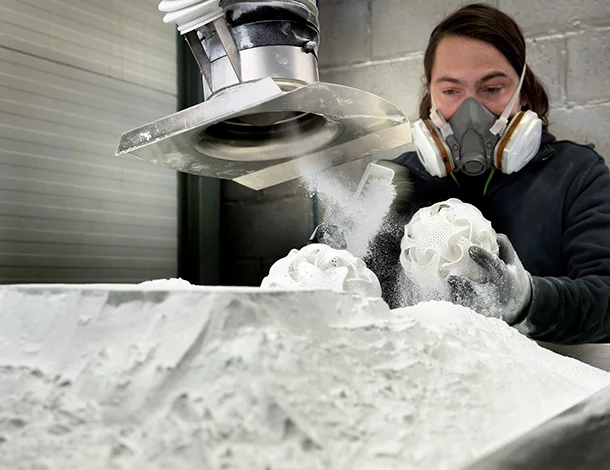
9. What Post-Processing Is Required for SLS Printed Parts?
Post-processing for SLS parts may include removing support structures, cleaning with compressed air, and surface treatments like sandblasting or painting for improved aesthetics and durability.
+
10. What are the common challenges in SLS 3D printing?
Common challenges in SLS 3D printing include managing the powder, ensuring consistent part quality, handling the high cost of materials and equipment, and addressing issues related to part warping and shrinkage.
+
11. How long does it take to produce parts with SLS?
SLS can produce parts relatively quickly, with turnaround times ranging from a few days to a couple of weeks, depending on the complexity and volume of the order.
+
12. How durable and strong are the parts made with SLA 3D printing?
The durability and strength of SLA-printed parts are highly dependent on the material used and the printing process parameters. Many resins offer excellent mechanical properties suitable for functional parts and end-use applications, although they may not match the strength of some traditional engineering materials.
+
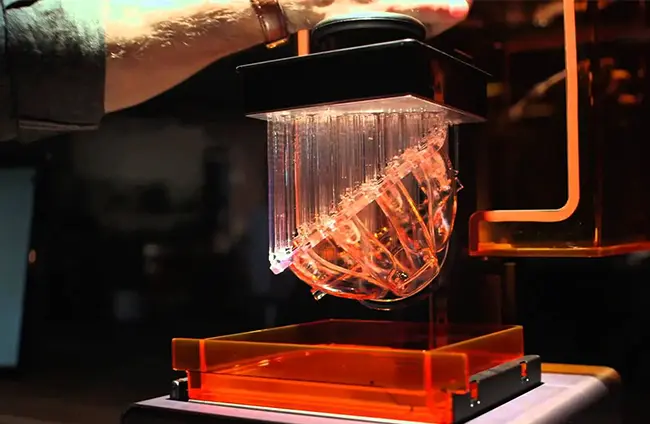
13. How does SLA compare to other 3D printing technologies like FDM or SLS?
While FDM (Fused Deposition Modeling) is more accessible and cost-effective for larger parts, SLA offers superior surface finish and detail. SLS (Selective Laser Sintering), on the other hand, does not require support structures and is better suited for functional parts, but SLA typically provides higher resolution and smoother finishes.
+
14. What post-processing steps are required after SLA printing?
After printing, parts usually require cleaning to remove excess resin and may need to be cured under UV light to enhance their mechanical properties. Additional finishing processes, such as sanding or painting, may also be applied depending on the desired final appearance.
+
15. What is the typical lead time for SLA 3D printing projects?
Lead times can vary based on the complexity of the design, material selection, and post-processing requirements. However, SLA is generally faster than traditional manufacturing methods, allowing for rapid prototyping and quicker iterations.
+
16. Is SLA printing suitable for functional prototypes?
While SLA can produce highly detailed prototypes, its brittleness may limit its suitability for functional applications. It is often used for visual prototypes rather than parts that will undergo significant stress or mechanical loading.
+
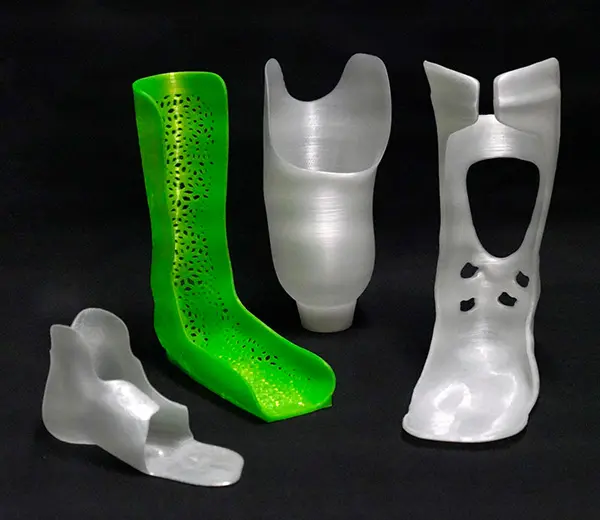
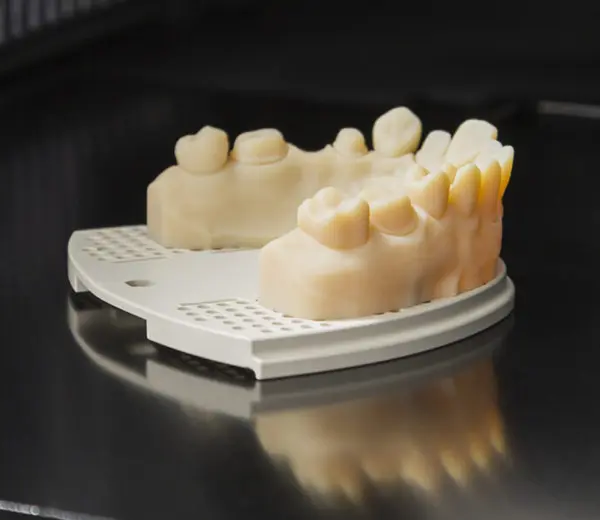
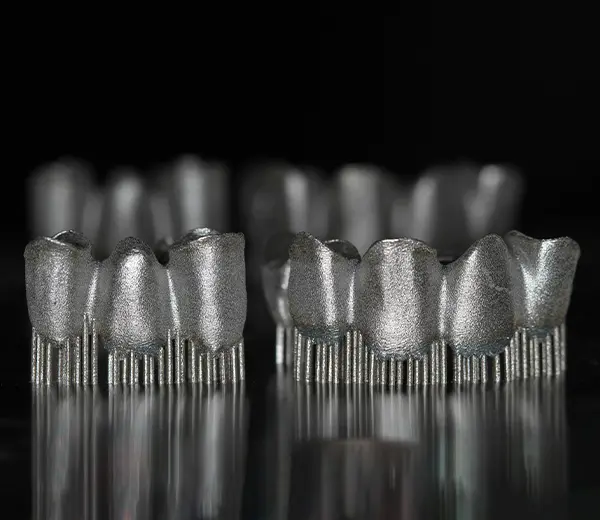
17. What Are Some Common Applications for SLA 3D Printing?
SLA 3D printing is widely used in various industries for applications such as rapid prototyping, manufacturing of complex parts in automotive and aerospace, dental and medical device production, jewelry design, and the creation of highly detailed models for architecture and art.
+
18. How does the nozzle diameter affect the extrusion process in FDM printing?
The nozzle diameter directly influences the width of the extruded filament and the level of detail achievable:
Larger Nozzles (e.g., 0.8 mm): Allow for faster print speeds and stronger parts due to the greater extrusion width. However, they reduce the resolution and fine detail of the print.
Smaller Nozzles (e.g., 0.2 mm): Provide higher resolution and finer details, but require slower print speeds and more precise calibration.
+
19. What are the critical settings for optimizing print temperature in FDM printing?
Nozzle Temperature: Typically ranges from 180°C to 250°C depending on the material. For instance, PLA is usually printed at 190-210°C, while ABS requires 220-250°C. Optimal temperature is crucial for ensuring good layer adhesion and preventing issues like stringing or under-extrusion.
Bed Temperature: A heated bed is essential for materials prone to warping. For example, PLA generally requires a bed temperature of 50-60°C, while ABS benefits from a bed temperature of 90-110°C.
+
20. What factors contribute to warping in FDM prints, and how can they be mitigated?
Warping occurs when the material cools unevenly, causing the edges to lift from the print bed:
Factors: High print temperatures, rapid cooling, and poor bed adhesion contribute to warping. Materials like ABS are particularly susceptible.
Mitigation: Use a heated bed, apply adhesion aids (e.g., glue sticks or painter’s tape), and print in an enclosed chamber to maintain a consistent temperature. Additionally, printing with a brim or raft can help improve adhesion and reduce warping.
+
21. What is the impact of ambient conditions on the FDM printing process?
Temperature: Variations can affect the stability of the print, causing issues such as warping or layer separation. A stable temperature environment is ideal.
Humidity: Filaments like PLA and Nylon absorb moisture, leading to defects like bubbling or poor layer adhesion. Proper storage in dry conditions and use of filament dryers can mitigate these issues.
+
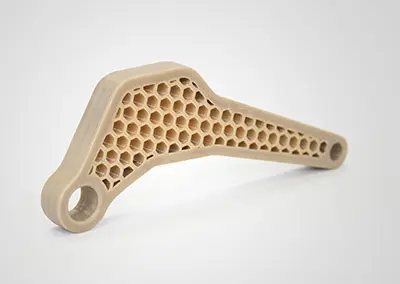
22. What are the implications of infill density and pattern on the performance of FDM-printed parts?
Infill Density: Higher densities (e.g., 50% or more) provide greater strength and rigidity but increase material usage and print time. Lower densities (e.g., 10-20%) reduce material consumption and weight but may sacrifice structural integrity.
Infill Patterns: Patterns like grid, honeycomb, and cubic offer different trade-offs between strength, weight, and material efficiency. For example, honeycomb provides good strength-to-weight ratio, while grid patterns are simpler and faster to print.
+
23. What is the role of layer height in the FDM printing process?
Layer height affects both the print quality and speed:
Lower Layer Heights (e.g., 0.1 mm): Provide smoother surfaces and finer details, enhancing print resolution but increasing print time.
Higher Layer Heights (e.g., 0.3 mm): Reduce print time but can result in a more textured surface and less detail. The choice of layer height should balance the need for detail against the acceptable print time.
+
24. How does retraction setting influence FDM print quality?
Retraction settings control the backward movement of the filament to prevent oozing and stringing during non-print moves:
Retraction Distance: Affects how much filament is pulled back into the nozzle. Too short can lead to stringing; too long can cause clogs or delayed extrusion.
Retraction Speed: Controls how quickly the filament is retracted. Too fast may cause jams, while too slow may not prevent stringing effectively.